
Managing media for a place
Media can be displayed inline with your days in both the planning and timeline views.
It is also used if you decide to publish a story using your trip itinerary.
On your desktop, you can add media by:
- Dragging and dropping
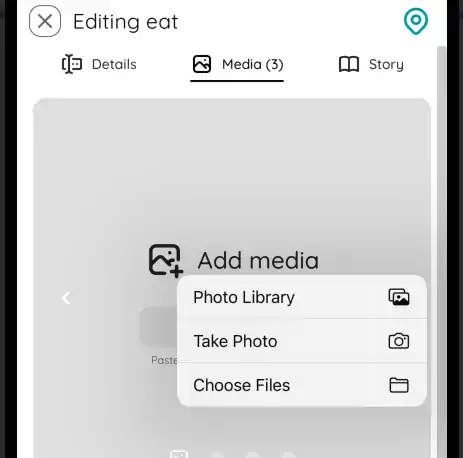
- Clicking the Add media button
- Or entering the URL of a media to add it for the place
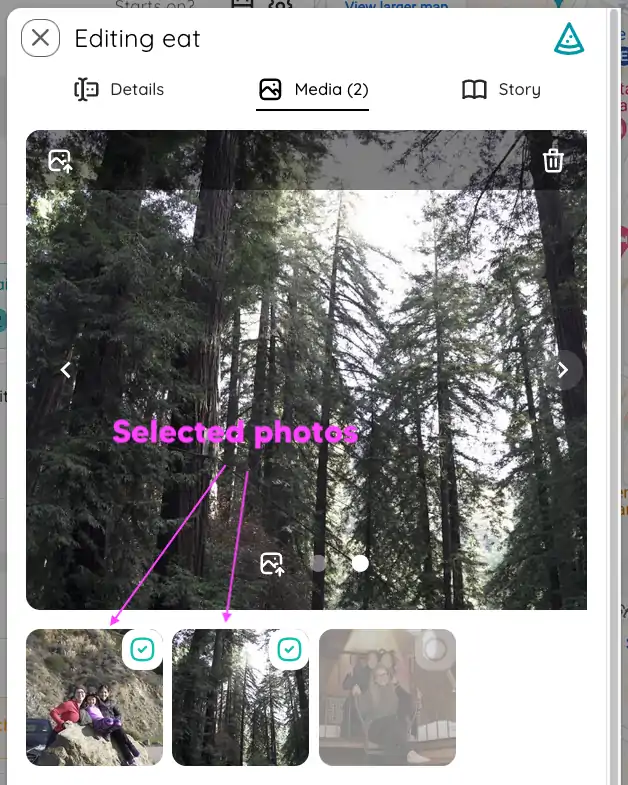
The media panel will shows all of the media for the trip. The media that you want to associate with the place are selected for each place.
In this case, this place has two photos selected:
The photos can be shown on the planning board:
Use the Show media inline with days option to turn this on and off:

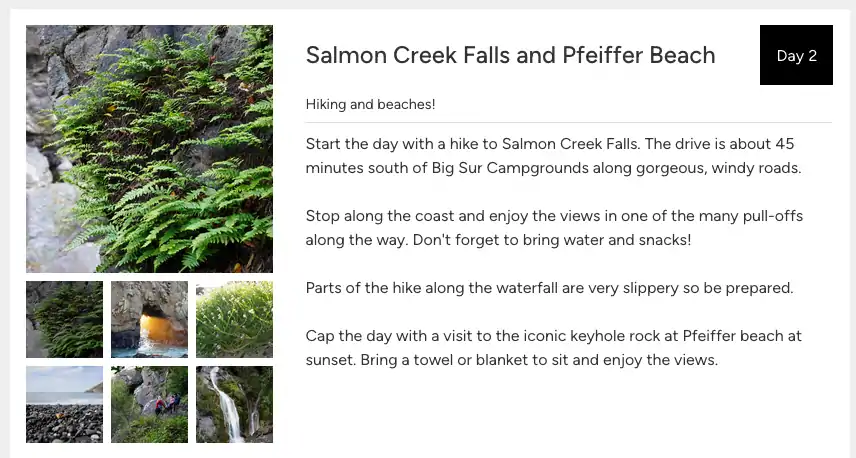
Adding media lets you tell your story more visually:
💡You can capture photos directly from your phone as well!
Managing story options for a place
If you plan on publishing a story with your itinerary, story options for the place determine how the place is displayed in the story.
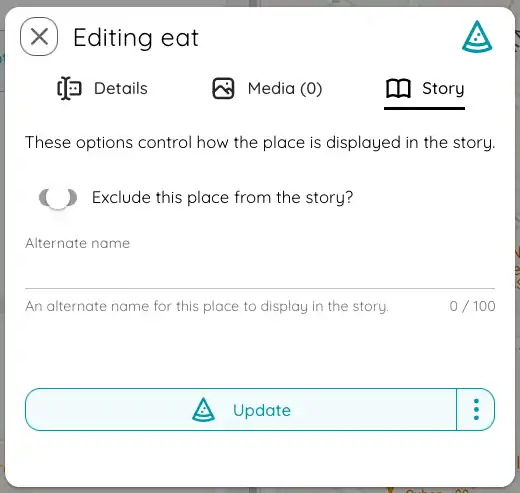
- Exclude this place from the story. If you have a place that you don’t want to be rendered into the story, you can check this value to hide it from the story.
- Alternate name. If you want to use an alternate name in the story, you can use this field to override the default name. This can be useful if you want to have a more descriptive name in your story than in your actual plan.
💡When you make changes to the story options, you need to republish your story for the changes to take effect.