
Planning view
This is the main view of the trip where you plan the days and places:
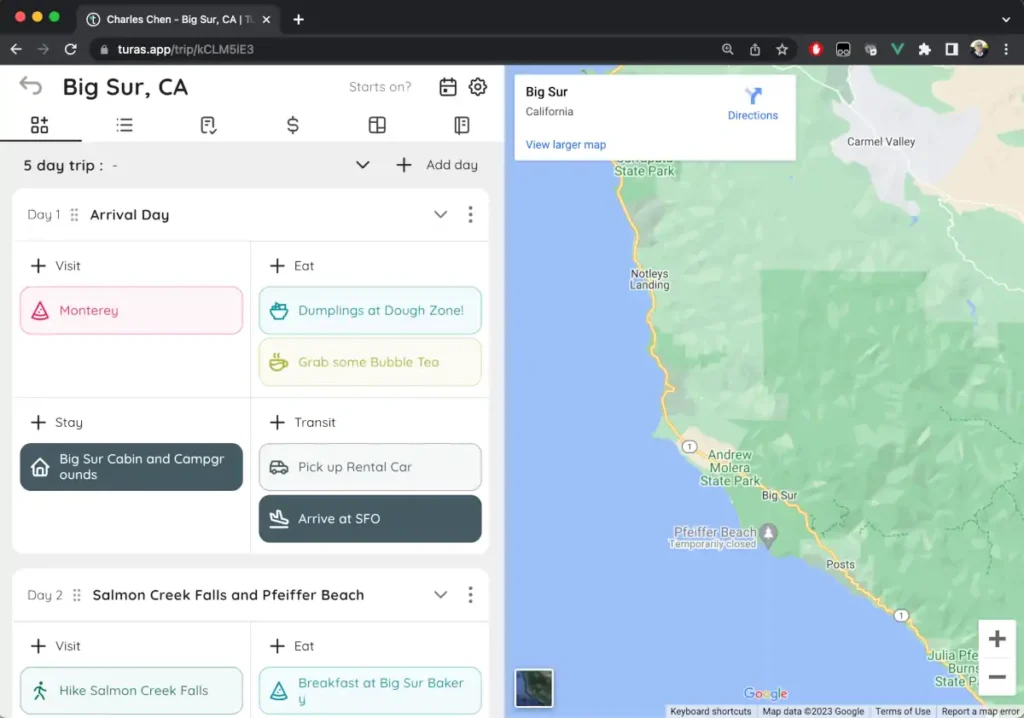
This view is the default view for trip owners and is not visible to editors and viewers.
See Sharing your trip and managing permissions for more details.
Timeline view
The timeline view is the default view for editors and viewers. It provides an easy way to see the linear order of the trip but does not allow adding new days or places.
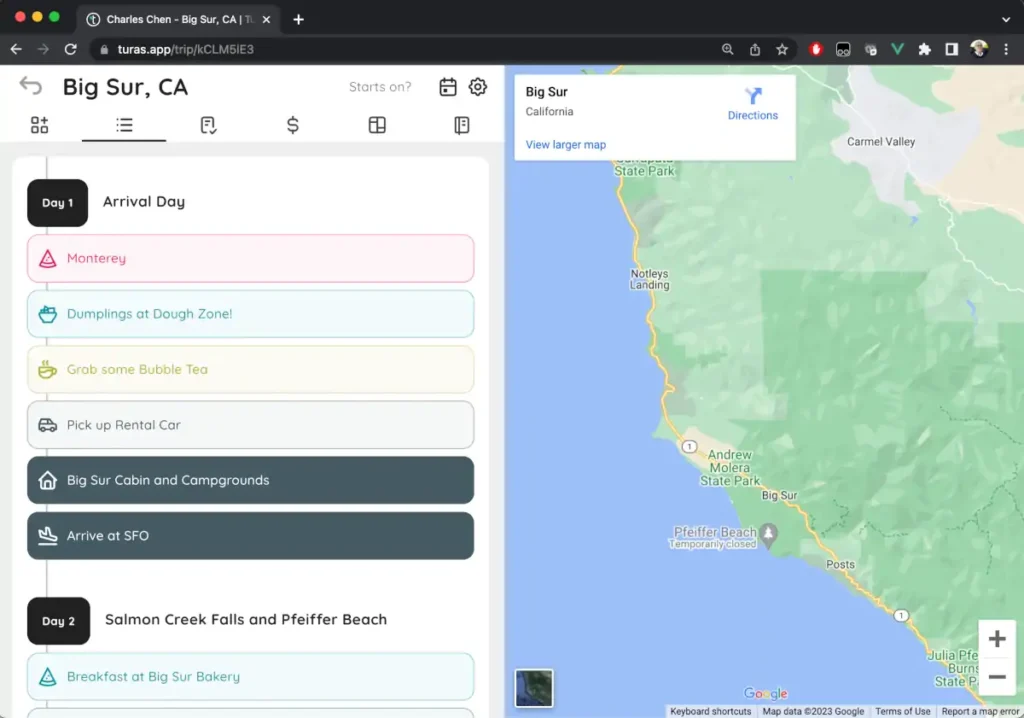
Places can still be:
- Edited (including media and story options)
- Re-ordered
- Archived
- Deleted
Calendar view
By default, the calendar view is turned off. You can turn it on from the Manage trip dialog.
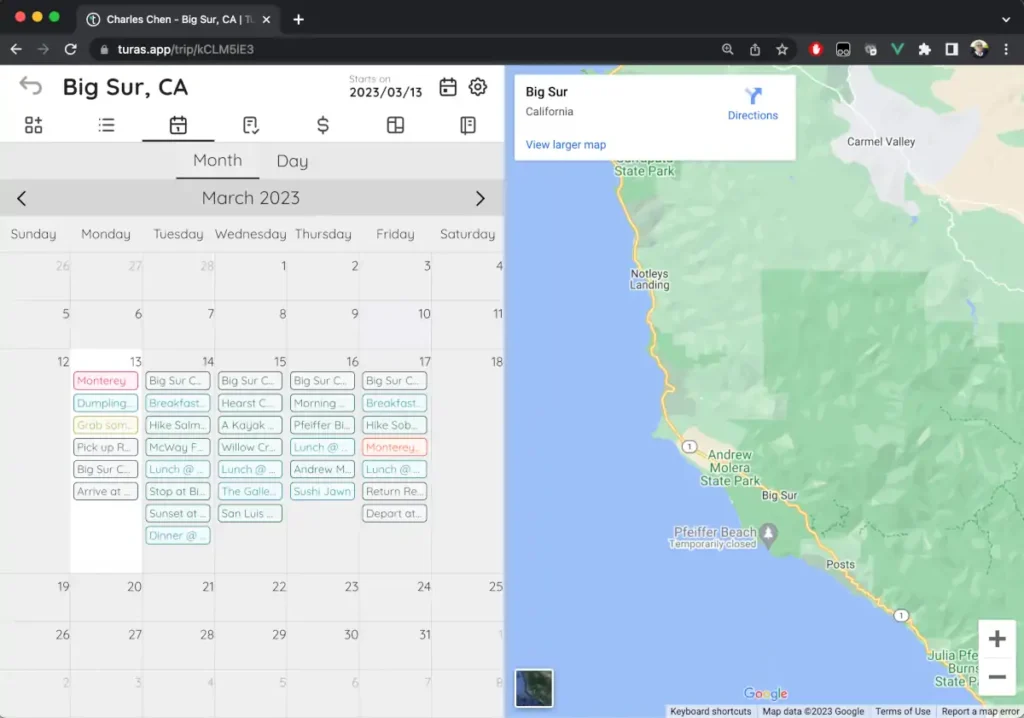
This view is useful to see the full structure of your trip, but you can turn it off if you have synced the trip to your Google Calendar.
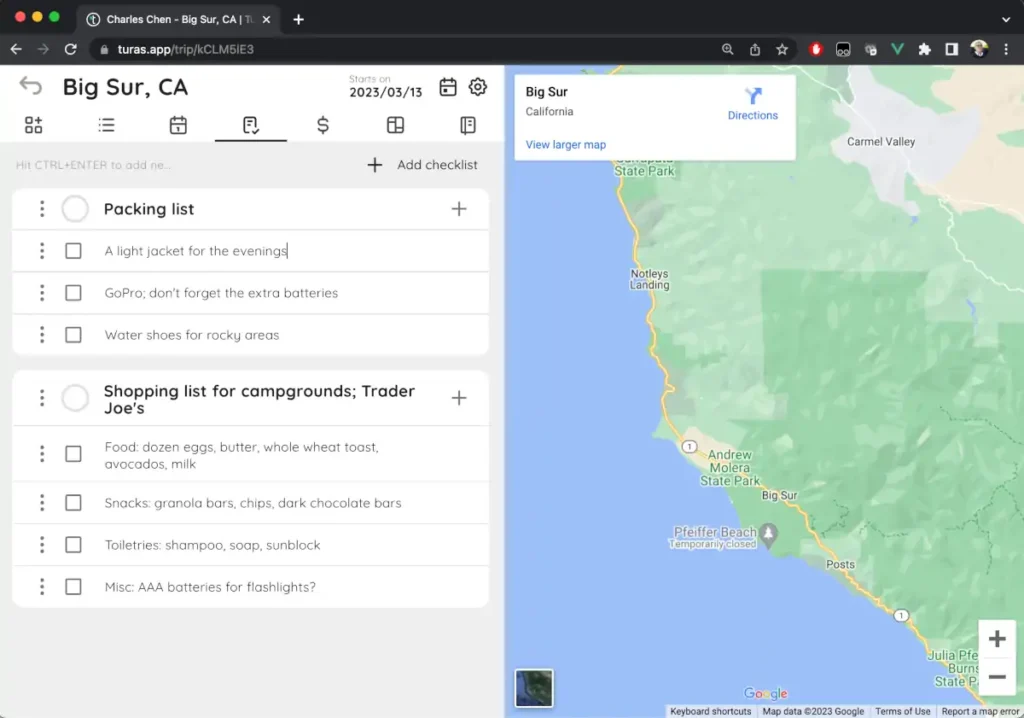
Checklist view
The checklist view lets you manage your checklists for the trip:
Budget view
If you assign a budget to your places (see Adding new places to your trip), they will automatically roll up into the budget panel.
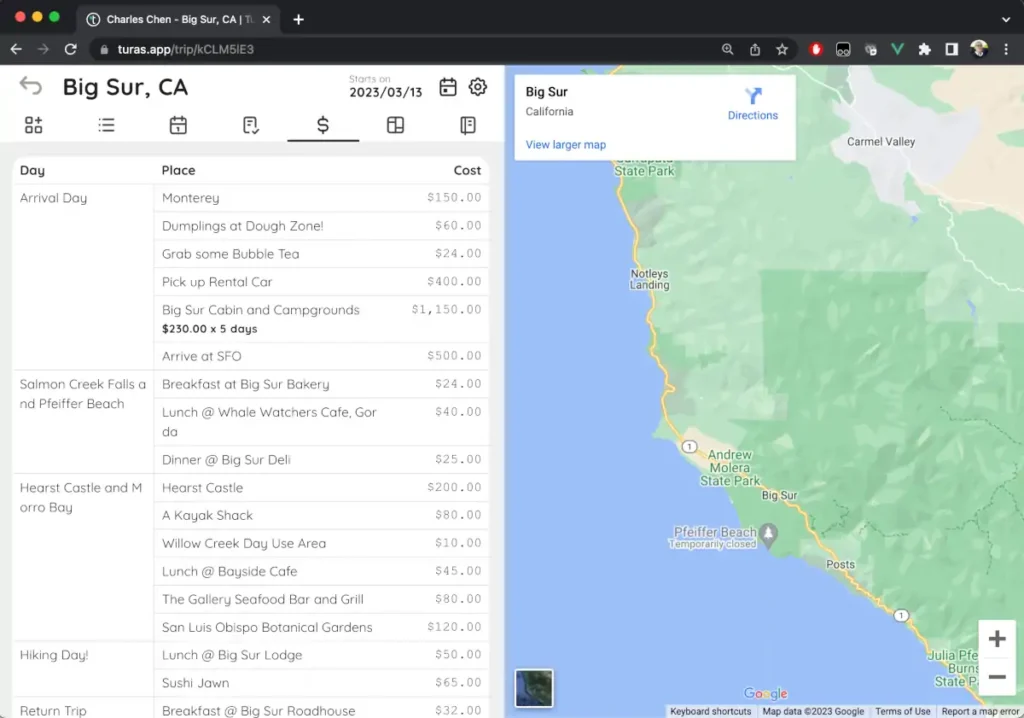
If you want to change the number of travelers or number of days used for the calculations (for example, you have transit days that you don’t want to include in the calculations), you can set the Total number of travelers and Subtract day count from the Trip options.
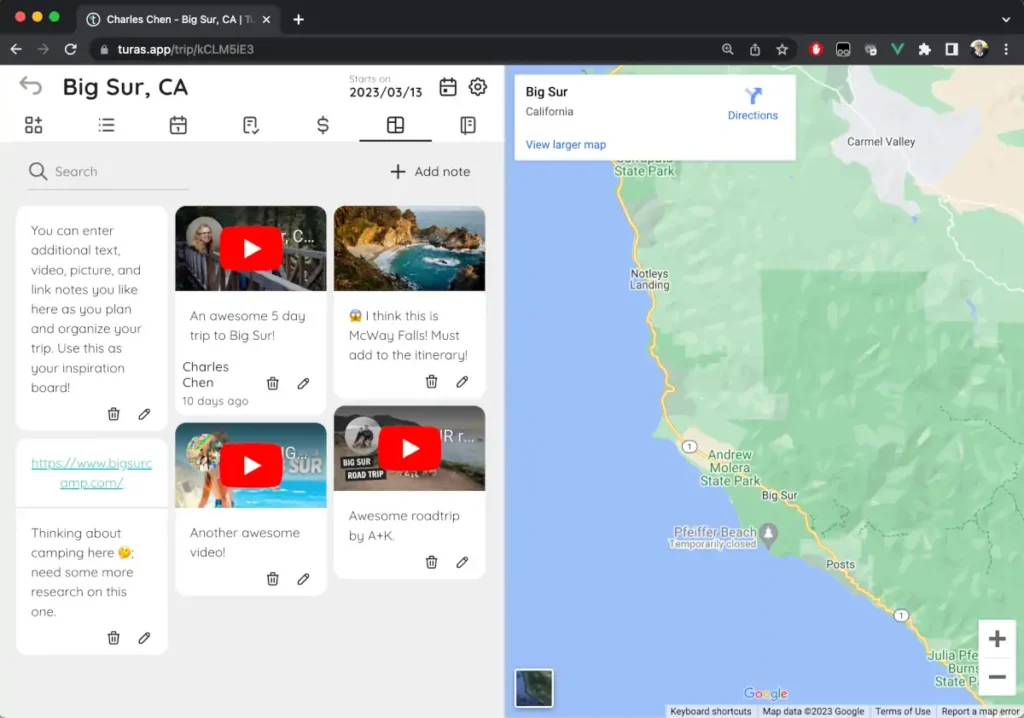
Notes view
The notes view lets you manage any notes and inspiration ideas that you have for your trip. For guides and agencies, this is a great place to add more detail and color to your trip narrative.
Story view
The story view is where you can author and publish your story:
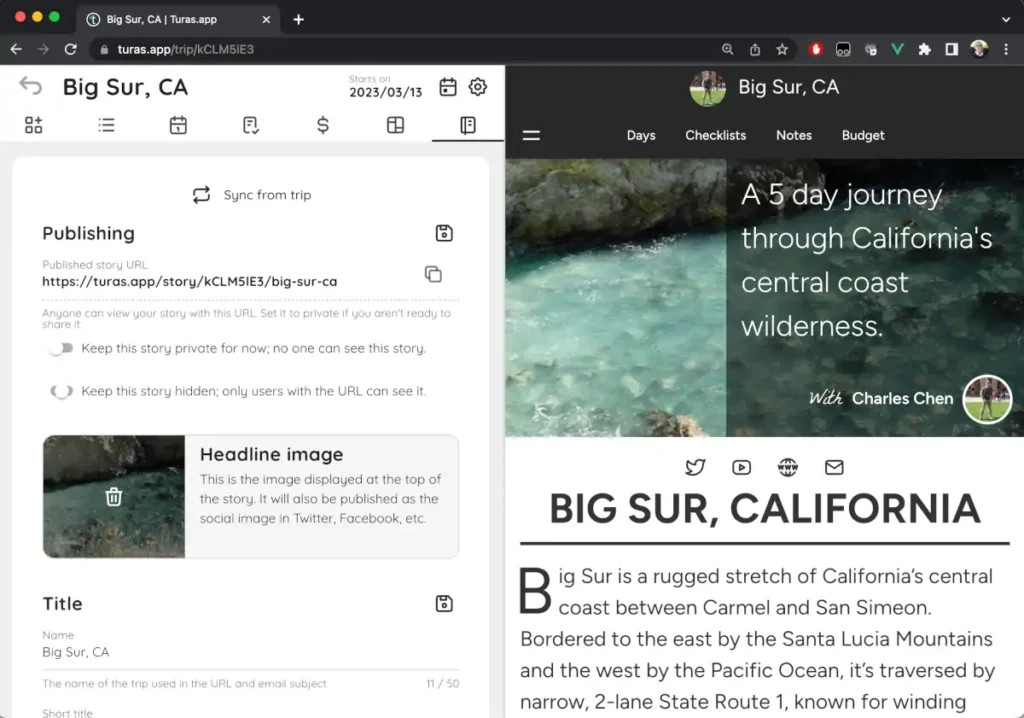
See Managing stories for more details.